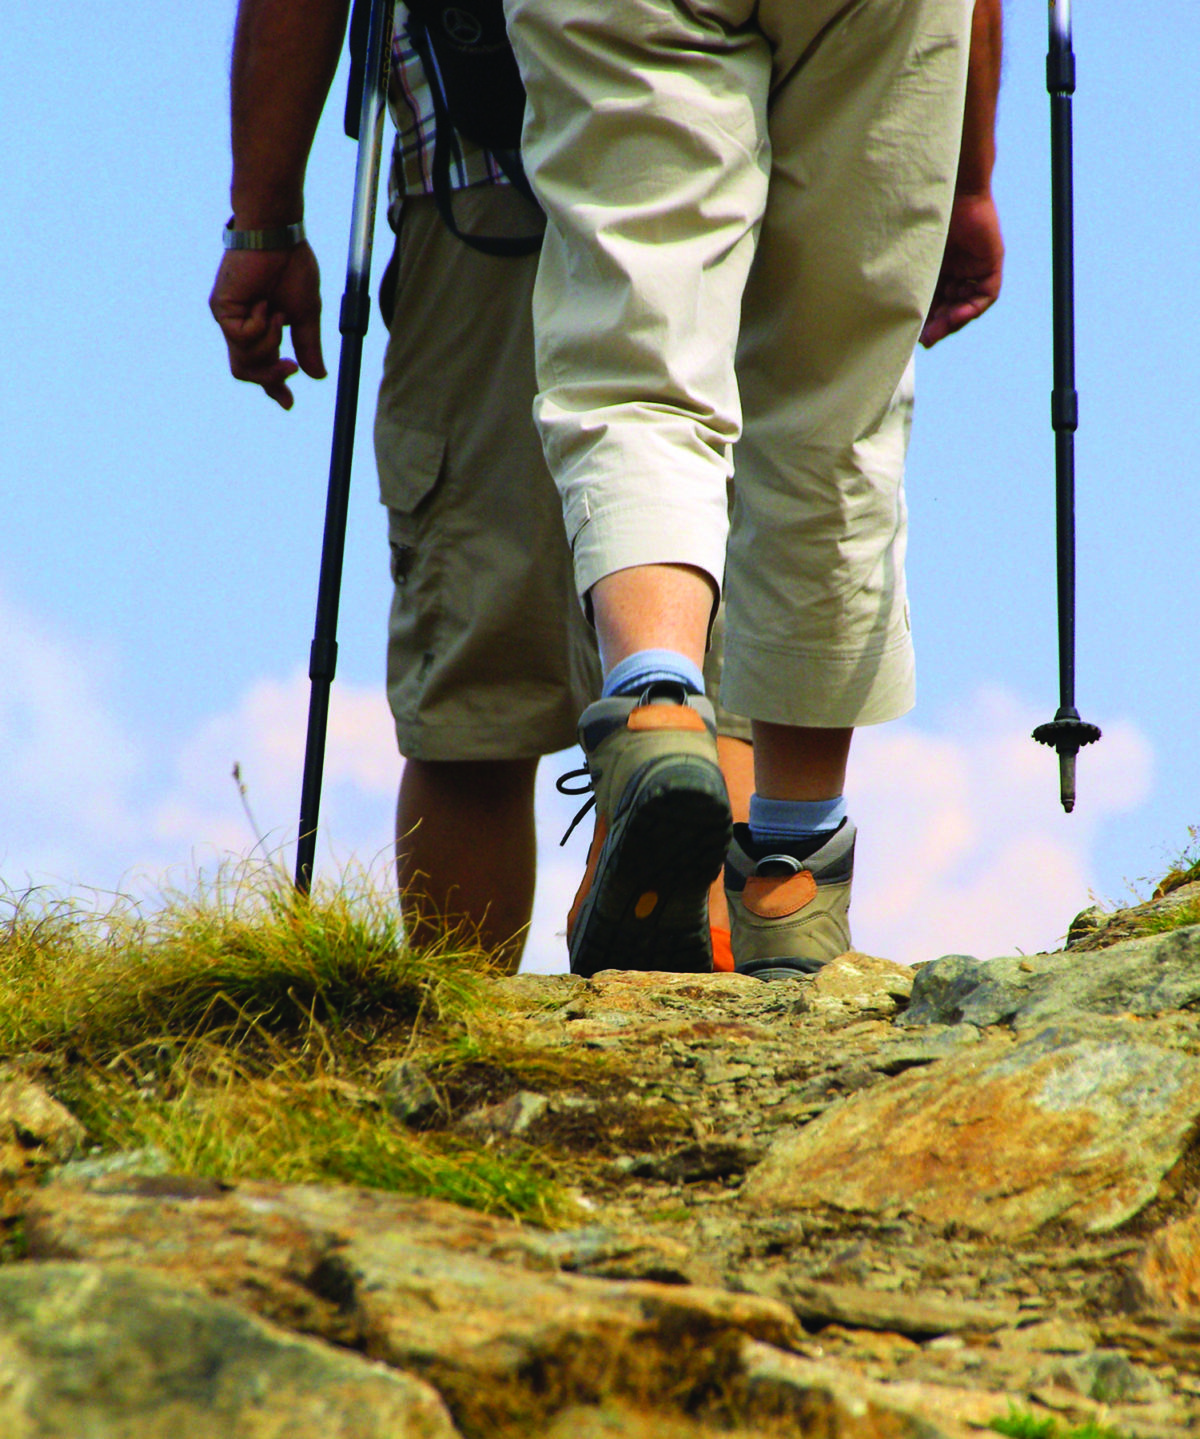
Well, shoot. The weather is beautiful, no smoke in the air (knock on wood), and you’ve been hiking your tail off all summer long. Life is good but you’ve noticed that nagging heel pain getting worse over the past few weeks. Dr. Google breaks the news that you may be suffering from what we call Plantar Fasciitis. Oh no… With all these gorgeous summer days ahead of you, you can’t stop now. All the momentum you’ve built over the last couple of months is too precious to let go of so soon. Let’s keep you in the groove and keep those hiking boots of yours doing the Lord’s work. What do you say? Shall we dive in and learn how to manage that pain and keep moving? Let’s go!
Here are a few ideas for quick and easy relief of that nagging pain in your heel or arch:
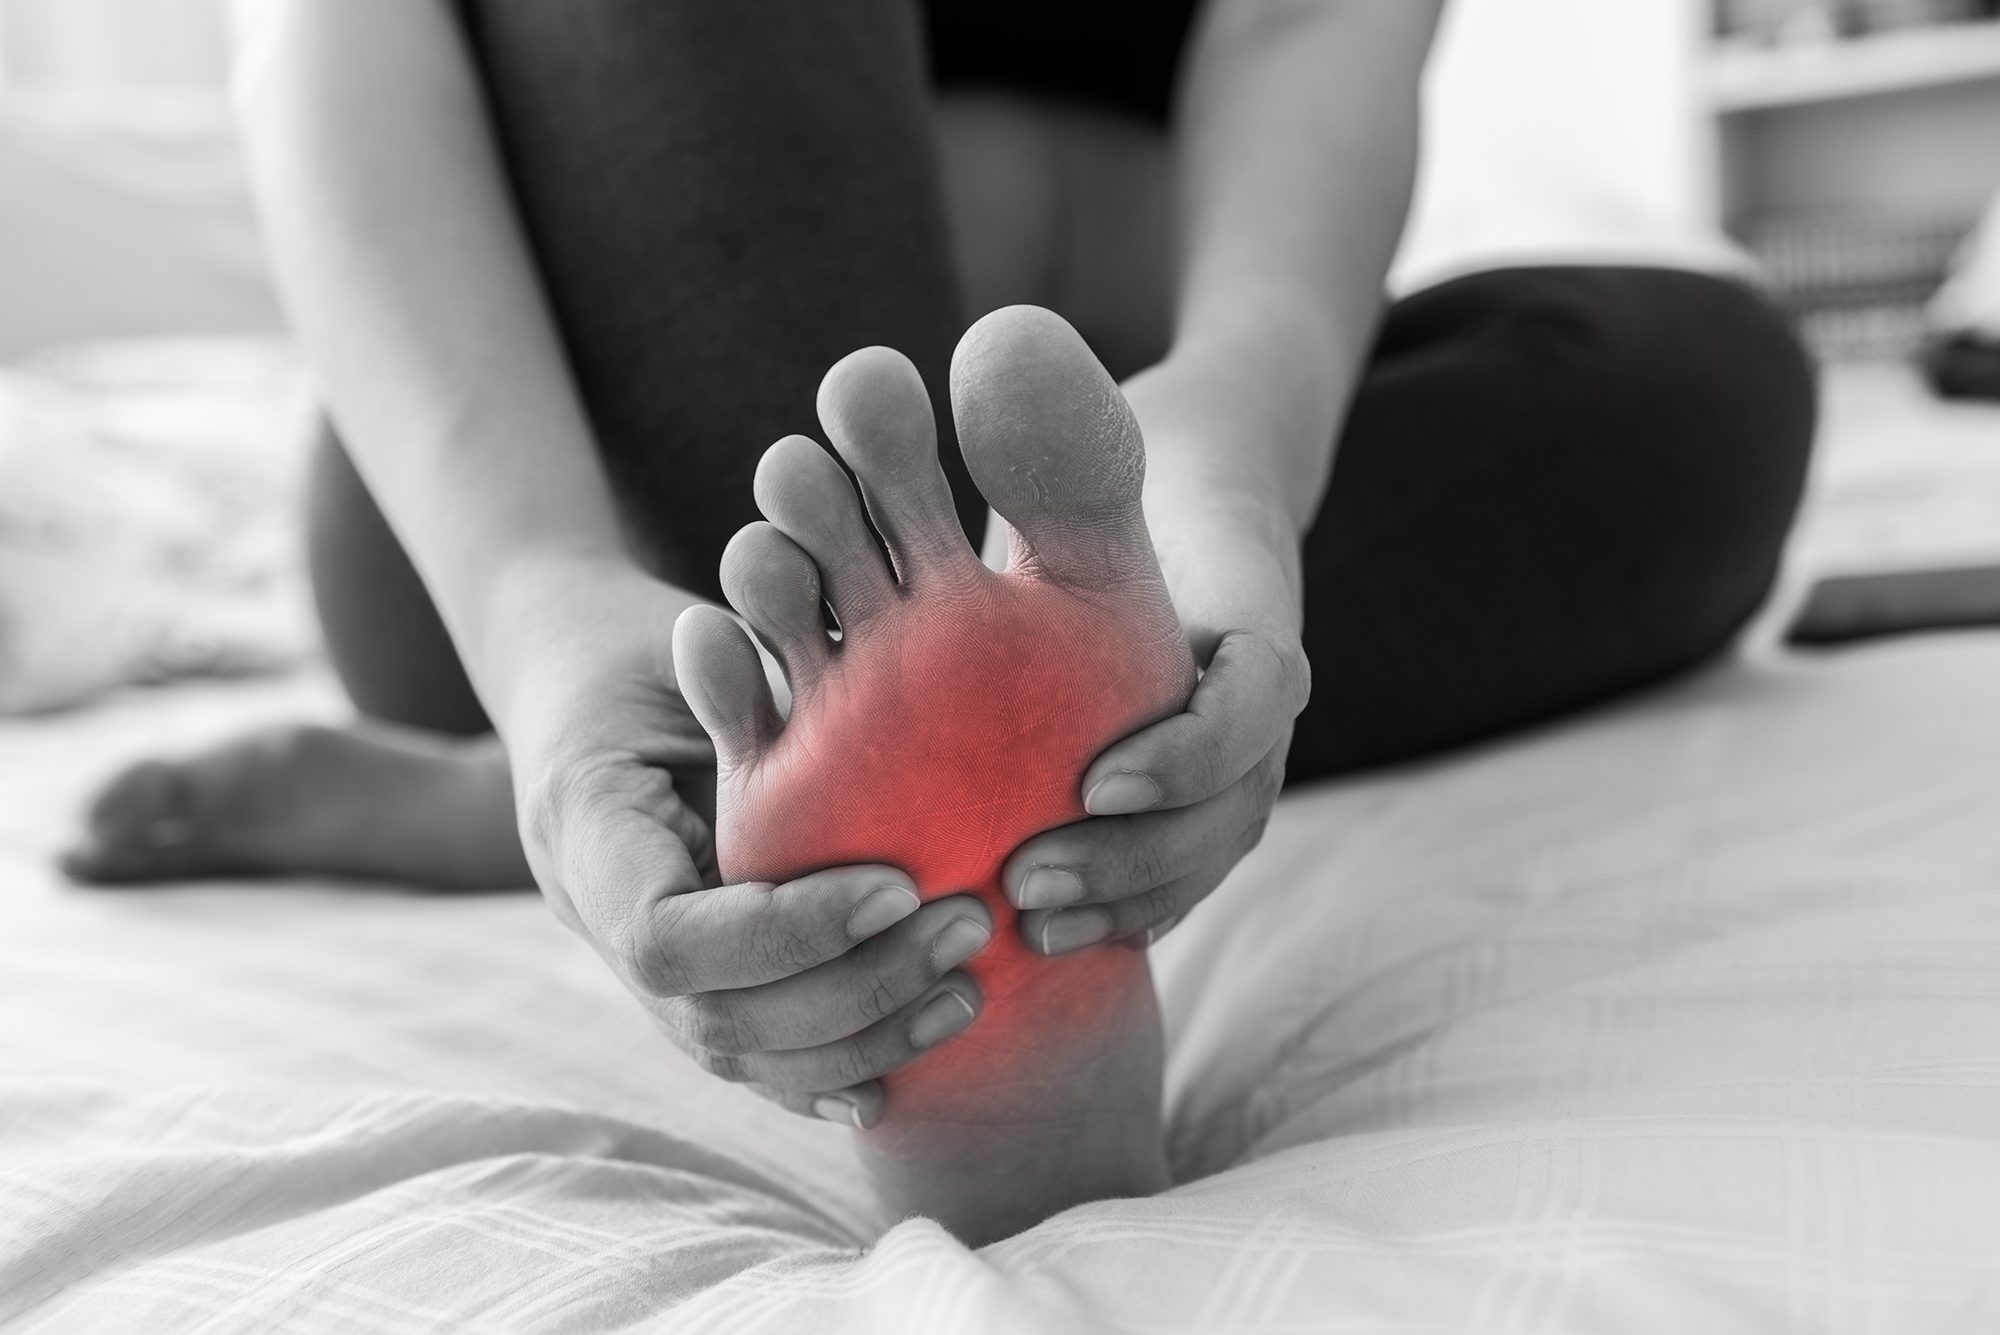
Massage Your Feet
Keep a golf ball, tennis ball, or lacrosse ball in your purse, desk, or drawer at home for a cheap and effective tool to provide comfort and pain relief throughout the day. While sitting down, roll the ball with steady pressure over your arch and into the meat of your heel. Don’t be too scared of the “hot spots” of pain. Without causing sharp or intense pain, apply steady pressure to those hot spots for several seconds before moving on.
This kind of massage distracts the pain receptors of the brain, sends blood flow to the arch and heel, and breaks down painful adhesions (improperly healed tears) on the plantar fascia. For extra relief, try putting the ball in the freezer at the beginning of the day for soothing cold therapy as well!
Ice, Ice, Baby
As mentioned in the last blog post, ice is a very effective method of managing pain associated with inflammation. After a hike or a long day of standing on your feet, take a load off and let your ice pack do some work for a bit. Apply ice to the bottom of your foot for no more than 20 minutes per hour but go ahead and repeat this every hour if needed.
Stretch It Out
There are many stretches you can do in your spare time to help ease the pain and tension in your feet. Stretching should be part of your daily routine to keep yourself mobile and pain free. Here are two stretches to add to your repertoire:
1. Seated Plantar Fascia Stretch
(Note: Complete this stretch in a slow and controlled manner.)
- Sit in a chair and cross one leg over the other knee, so your ankle is on top of your other leg.
- With one hand holding your ankle and the other holding your toes, gently pull your toes backward until you feel a stretch in the bottom of your foot.
- Hold this position for between 30 seconds and 2 minutes.
- Repeat this stretch 3-5 times per day to keep those tissues loosened up.
2. Wall Calf Stretch
- Stand upright facing a wall at arm’s length and place your hands flat on the wall.
- Keeping both feet flat on the floor, extend one leg straight backward, bending your front leg until you feel a stretch in the calf of your back leg.
- Hold for between 30 seconds and 2 minutes.
- Repeat this stretch 3-5 times a day to keep your calves from tightening back up.
Make Friends with a Foam Roller
Using a foam roller at home can be one very effective way at reducing muscle tension. With the foam roller placed under your calves, you can either split your weight between your two legs or cross one leg over the other in order to increase the pressure. Don’t be alarmed if this is very sore. It typically takes a couple of weeks of consistent rolling before it becomes less torturous.
Get That Strength Up
Research shows that strengthening in conjunction with a stretching program, including stretching the Achilles tendon, can significantly reduce pain and improve walking in people with plantar fasciitis. Try these exercises at home to see how they work for you.
1. Heel Raises
Note: This exercise should be done slowly and with controlled movements. Make sure to maintain your balance and hold on to a railing or other support if needed.
- Stand with the balls of your feet at the edge of a bottom step.
- With your heels hanging off the edge, slowly and gently lower your heels just below the edge of the step. You may feel a stretch in your calf muscle.
- Slowly rise onto the balls of your feet.
- Repeat this 10 times, then rest. Complete two sets of this exercise.
- Do this exercise once or twice daily.
2. Floor Sitting Ankle Inversion With Resistance
Note: This exercise requires an elastic exercise band.
- Sit upright on the floor with your legs straight out in front of you. Make sure to avoid any hip movement while doing this exercise.
- Place your left leg over your right leg with a resistance band secured around your upper foot and looped around the bottom of your lower foot. Hold the end of the band in your hand.
- Slowly move your upper foot (the one with the resistance band around it) away from the lower foot. To do this, rotate your ankle inward and slowly return it to the starting position.
- Repeat 10 times and complete two sets per foot.
- Do this exercise once or twice daily.
3. Seated Toe Towel Scrunches
Note: Make sure that your whole foot stays on the ground and that only your toes do the work of this exercise.
- Sit upright in a chair with one foot resting on a towel and spread your toes.
- Curl your toes to scrunch and draw the towel toward you 10 times. Do two sets per foot.
- Do this exercise once or twice daily.
Well, there you have it. Those are just a few options for you if you start to find that heel or arch pain is interfering with your outdoor pursuits. As always, if you have any further questions, please feel free to reach out to your friendly neighborhood physical therapist. We’d be happy to answer your questions and get you back on track.
Cheers.